Initial Integration
Tip
Before integrating the NFC Reader SDK, make sure to update your project settings as outlined in Installation. We also suggest reading through Understanding the ePassport Integrated Circuit if you haven’t worked with NFC-capable passports before.
Setting Up the Reader
The core of the NFC Reader SDK is PassportChipReader. A PassportChipReader establishes an NFC connection with an ePassport and eventually provides a PassportChipReaderResult.
With no strings attached, you can get this set up very quickly; all you need is an MRZ_information (see MRZ_information):
import UIKit
import CFNFCReaderSDK

class ViewController: UIViewController {

    private let passportReader = PassportChipReader()

    private func startReading() {
        passportReader.read(mrzInformationKey: "<insert_key_here>") { result in
            // Handle result
        }
    }

}
Tip
The Document Scan SDK can provide the MRZ_information automatically. See Supporting MRZ Capture for more information.
State Machine
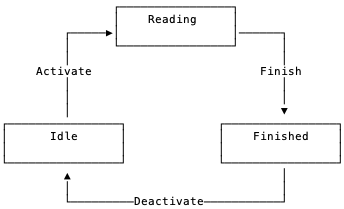
PassportChipReader is stateful, following a simple state machine:

Idle - The reader is ready to start reading
Reading - The reader is currently reading
Finished - The reader has finished reading and has prepared a result
If a reader is not idle, then subsequent attempts to read will immediately fail.
Combine and Coroutines
PassportChipReader states and results can be observed via its publisher:
import UIKit
import CFNFCReaderSDK
import Combine

class ViewController: UIViewController {

    private let passportReader = PassportChipReader()

    override func viewDidLoad() {
        passportReader.publisher
            .sink { state in
                // Handle state, which may include a result
                print("Reader state: \(state)")
            }
            .store(in: &subscribers)
    }

    private func startReading() {
        passportReader.read(mrzInformationKey: "<insert_key_here>")
    }

}
If you’re targeting iOS 15+, you can also utilize the async interface:
import UIKit
import CFNFCReaderSDK

class ViewController: UIViewController {

    private let passportReader = PassportChipReader()

    private func startReading() async {
        let result = await passportReader.read(mrzInformationKey: "<insert_key_here>")
        // Handle result
    }

}
Tutorial Screens
The NFC Reader SDK includes two tutorial view controllers that you can use out of the box:
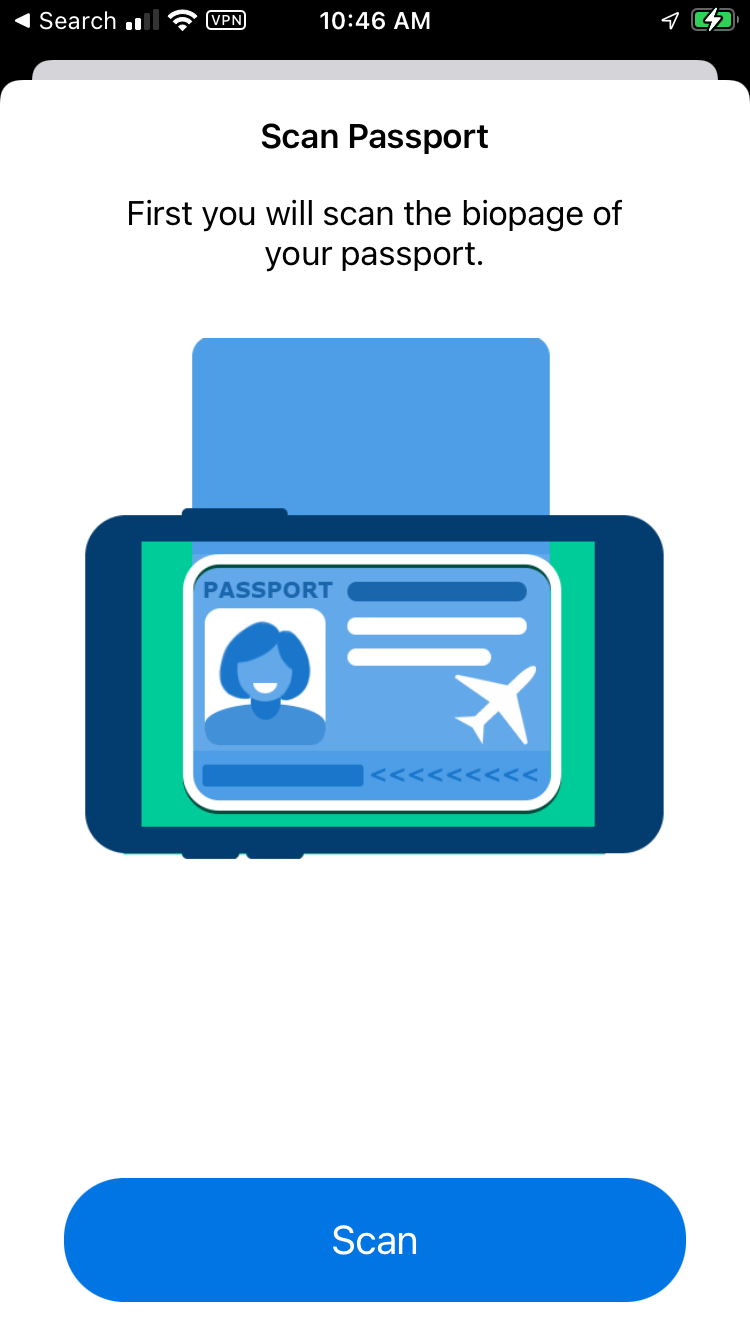
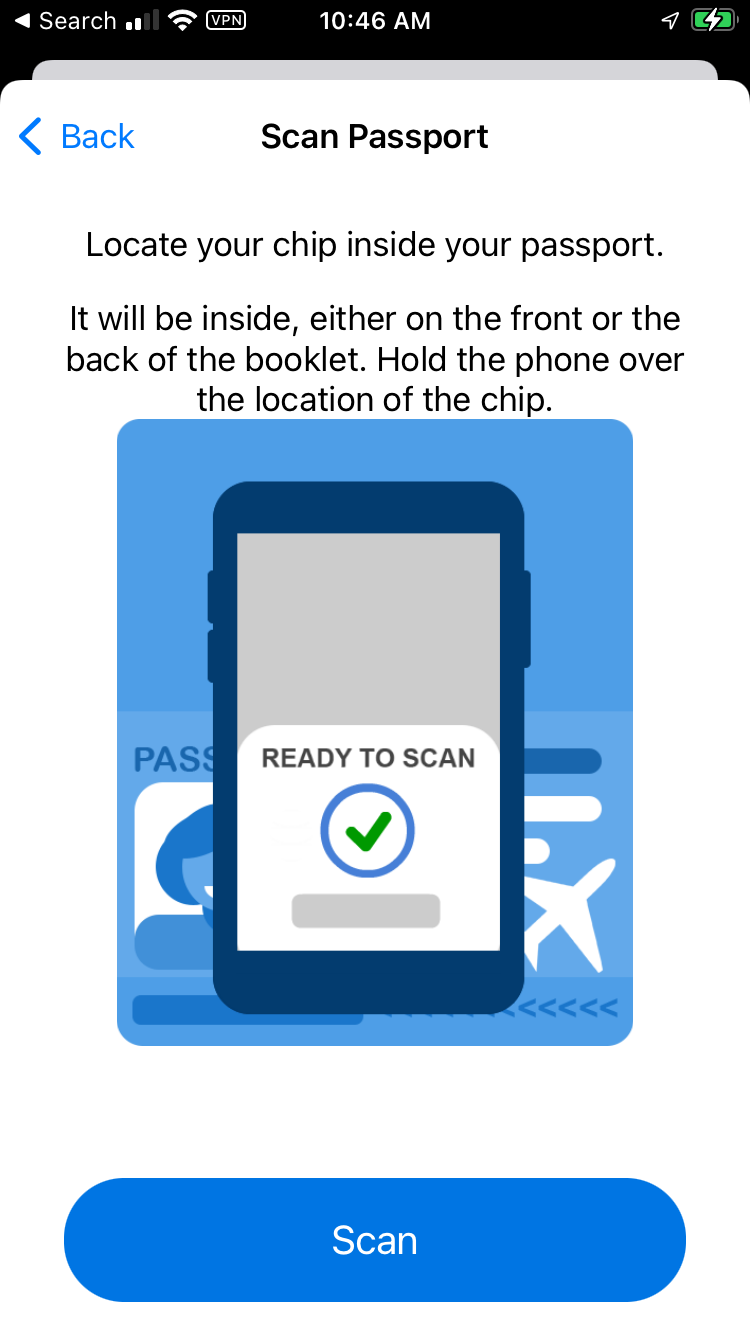
TutorialMRZViewController: Guides the user to capture the Machine-Readable Zone on their passportTutorialNFCViewController: Guides the user to connect to & scan the IC on their passport
The two screens can be used independently, or they can be used together and even combined with the Document Scan SDK, as presented in Full Workflow.

TutorialMRZViewController

TutorialNFCViewController
The behavior of both screens is configurable. For convenience, all you need for TutorialNFCViewController is an MRZ_information. You can also pass in your own PassportChipReader if you want to make any customizations outlined in Advanced Chip Reader Customizations.
import UIKit
import CFNFCReaderSDK

class ViewController: UIViewController {

    private func presentNFCTutorial() {
        let tutorialVC = TutorialNFCViewController(mrzInformationKey: "<insert_key_here>")
        present(tutorialVC, animated: true, completion: nil)
    }

}